You’ve finally put into motion that much needed home remodeling project that you’ve always wanted. Construction is scheduled to start. You’re tasked with clearing out your possessions to make room for the remodeling crew. And, what about after the remodel, when you need to move your items back into the new space? Nothing is worse than not being able to find what you’re looking for in a sea of mislabeled boxes. To save countless hours of frustration, we’ve put together some helpful tips in collaboration with Janae Kelly, owner of Organized Philosophy.
Step 1) De-clutter your home
Consider weeding out items that you no longer need or use. As you sort through all of your belongings, be pragmatic. Do you need two stand mixers? How many coffee mugs does your household really use? If you haven’t used the item in past 6 months to a year, consider selling it, giving it away, donating it or recycling it. As a home owner, if you donate items to a charity there are great tax benefits in doing so. You’ll be happy when your remodel is complete that you’ve minimized the “stuff” you need to find space for.
Step 2) Pack Properly
Pack your fragile items first. This includes glass, crystal, or china. You’ll want to invest in bubble wrap to protect each piece making sure they don’t touch each other. Also, make sure your fragile items do not rest against the outside or corner edges of the box with cushion all around. This will prevent your fragile items from breaking.
Items that are not fragile, but may be prone to scratching or being damaged in some way should be wrapped in a few layers of newspaper. Examples include candles, decorative metals and wood ornaments. Small picture frames should also be wrapped in newspaper with a masking tape “X” over the glass to prevent it from shattering. Note: glass framed art, such as mirrors or hanging pictures, should be stored upright, not flat.
When packing boxes, make sure you keep the weight of each box to 40 pounds for easy lifting. Pack fragile items in smaller, lighter boxes for easy handling. Pack books in smaller boxes, as well. Larger boxes should be used for items that don’t weigh as much, e.g., clothing, stuffed animals, kitchen utensils, office supplies, etc.
Step 3) Label your boxes
As you pack, make a list of everything in each box. Then, clearly label, in large letters, which room the box will go in after the renovation. Make a copy of the inventory list and tape it to the box. Some people also prefer keeping a master list of each box, especially if you will be storing your items in off-site storage.
Step 4) Pack up more than the actual room being renovated
Organization is the key to a successful remodel, it’s also the key to successful packing. As is the case with any remodel, you need to plan for noise, dust and debris in and around the work area. And, dust will filter throughout your home, particularly in the room that is adjacent to the remodeled living space. So, avoid risk by packing up any valuable items that could get damaged from dust, vibration or a hardworking crewman walking by.
Step 5) Maximize space and efficiency after the remodel
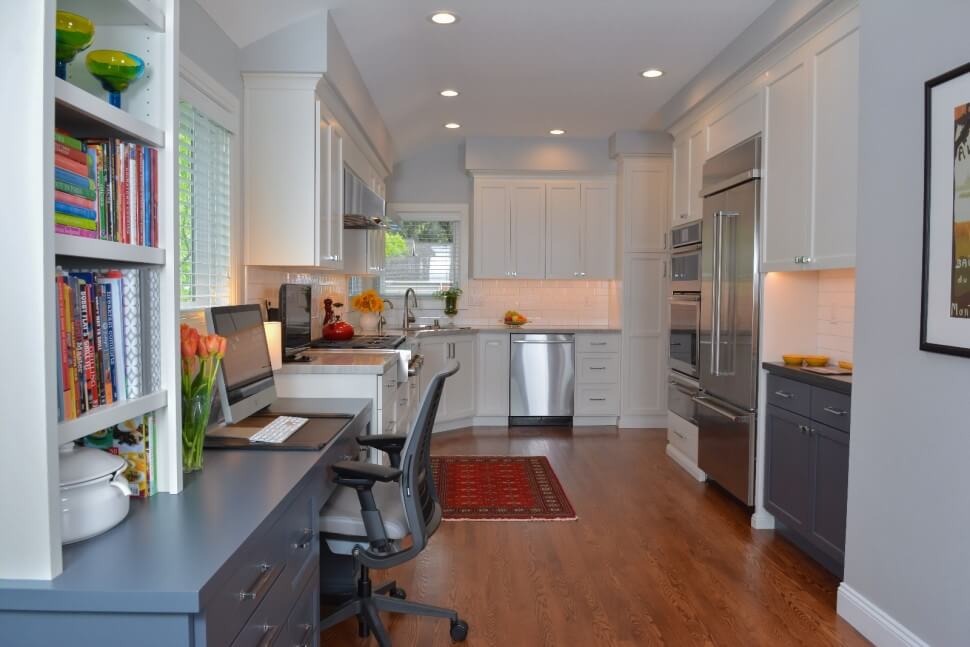
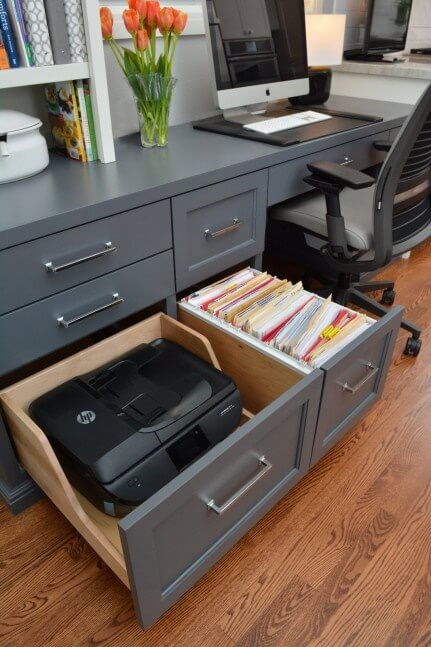
Now the fun part! Your beautifully remodeled space is complete and it is time to move back in. You’ve pulled out those clearly marked boxes and know exactly which items you’re bringing back into your newly remodeled space. It’s time to decide where to put them, to maximize space and efficiency. Will you consider keeping your glasses and cups within easy reach of your refrigerator or create a food prep station in close proximity to your cutting boards and knives?
Do you prefer empty countertops for a minimalist look or perhaps you want items within easy reach using pretty containers or baskets? A professional organizer, like Janae Kelly, will also have a variety of recommendations and suggestions for you to ensure your new living space works perfectly for you.

For more information on how Janae can help you with organizational systems visit https://www.organizedphilosophy.com/.